Image Source: Google
Is your dryer not working properly? It could be due to a faulty receptacle box. Don't worry, you can easily replace it yourself with just a few simple tools and steps. In this guide, we will walk you through the process of replacing a faulty dryer receptacle box in 4 easy steps.
Step 1: Safety First
Gather Your Tools
- Screwdriver
- Needle-nose pliers
- New dryer receptacle box
- Voltage tester
- Electrical tape
Turn Off Power
Before you start working on replacing the dryer receptacle box, make sure to turn off the power to the dryer. You can do this by flipping the corresponding breaker in your electrical panel. Use a voltage tester to double-check that the power is off before proceeding.
Step 2: Remove the Old Receptacle Box
Unscrew the Cover Plate
Use a screwdriver to remove the screws holding the cover plate of the receptacle box in place. Set the screws aside as you will need them later to install the new box.
Disconnect Wires
Once the cover plate is removed, you will see the wires connected to the receptacle. Use a voltage tester to ensure there is no power running through the wires. Then, use the needle-nose pliers to disconnect the wires from the old receptacle box. Make a note of which wire goes where for easy reconnection later.
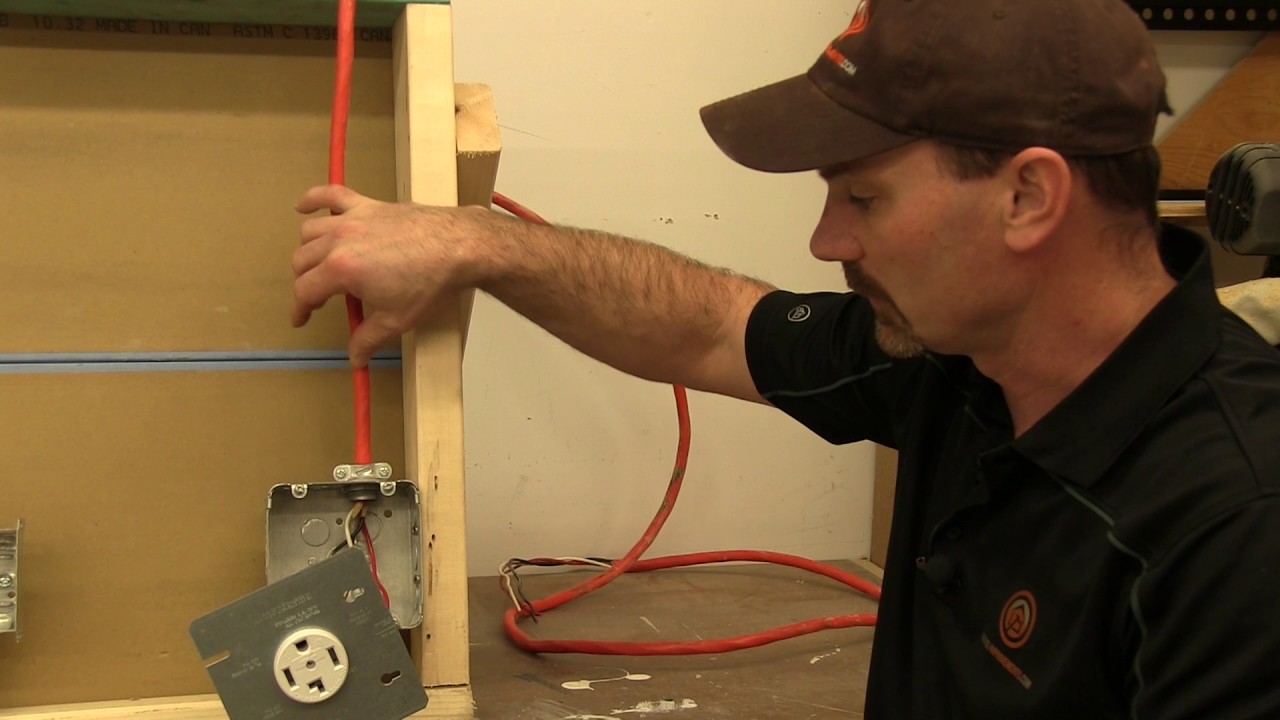
Remove the Old Box
After disconnecting the wires, you can now remove the old receptacle box. Use a screwdriver to loosen the screws holding the box in place and carefully pull it out from the wall. Discard the old box properly.
Step 3: Install the New Receptacle Box
Attach the New Box
Take the new dryer receptacle box and position it in the hole where the old box was removed. Use the screws you set aside earlier to secure the new box in place. Make sure it is flush against the wall and securely fastened.
Connect the Wires
Now, it's time to reconnect the wires to the new receptacle box. Match each wire to its corresponding terminal (black to black, white to white, green to green). Use the needle-nose pliers to secure the connections and double-check that they are tight and secure.
Secure the Cover Plate
Once the wires are connected, attach the cover plate back to the receptacle box using the screws. Make sure the cover plate is snug and properly aligned with the box.
Step 4: Test the Connection
Turn On Power
After you have installed the new dryer receptacle box, you can turn the power back on at the breaker. Use the voltage tester to confirm that there is power running to the receptacle box.
Test the Dryer
Plug in your dryer and turn it on to test if it is functioning properly. Check for any unusual noises or issues with the dryer's performance. If everything is working as it should, then you have successfully replaced the faulty receptacle box.
Final Checks
Before you consider the job complete, make sure to do a final check of the following:
- Ensure all connections are secure and properly tightened.
- Double-check that the power is running to the receptacle box.
- Test the dryer multiple times to confirm it is working consistently.
Congratulations! You have successfully replaced a faulty dryer receptacle box in just 4 easy steps. By following this guide and taking the necessary safety precautions, you can save time and money by handling simple household repairs yourself.